


Assistants Manager
Assistants Manager allows instructors to easily add assistants with customizable levels of access to class tools. A tool with everything all in one place for assistants; easily modify controls and seamlessly accomplish your needs.
Visit Assistants Manager
SUPPORT CONTACT
Support is provided via the EEE Support Team
Assistants Manager Help Documentation
UCI Assistant Role Permissions
Adding Assistants to Canvas
Editing Assistant Access
Removing Assistant Access
Editing or Removing Canvas Access
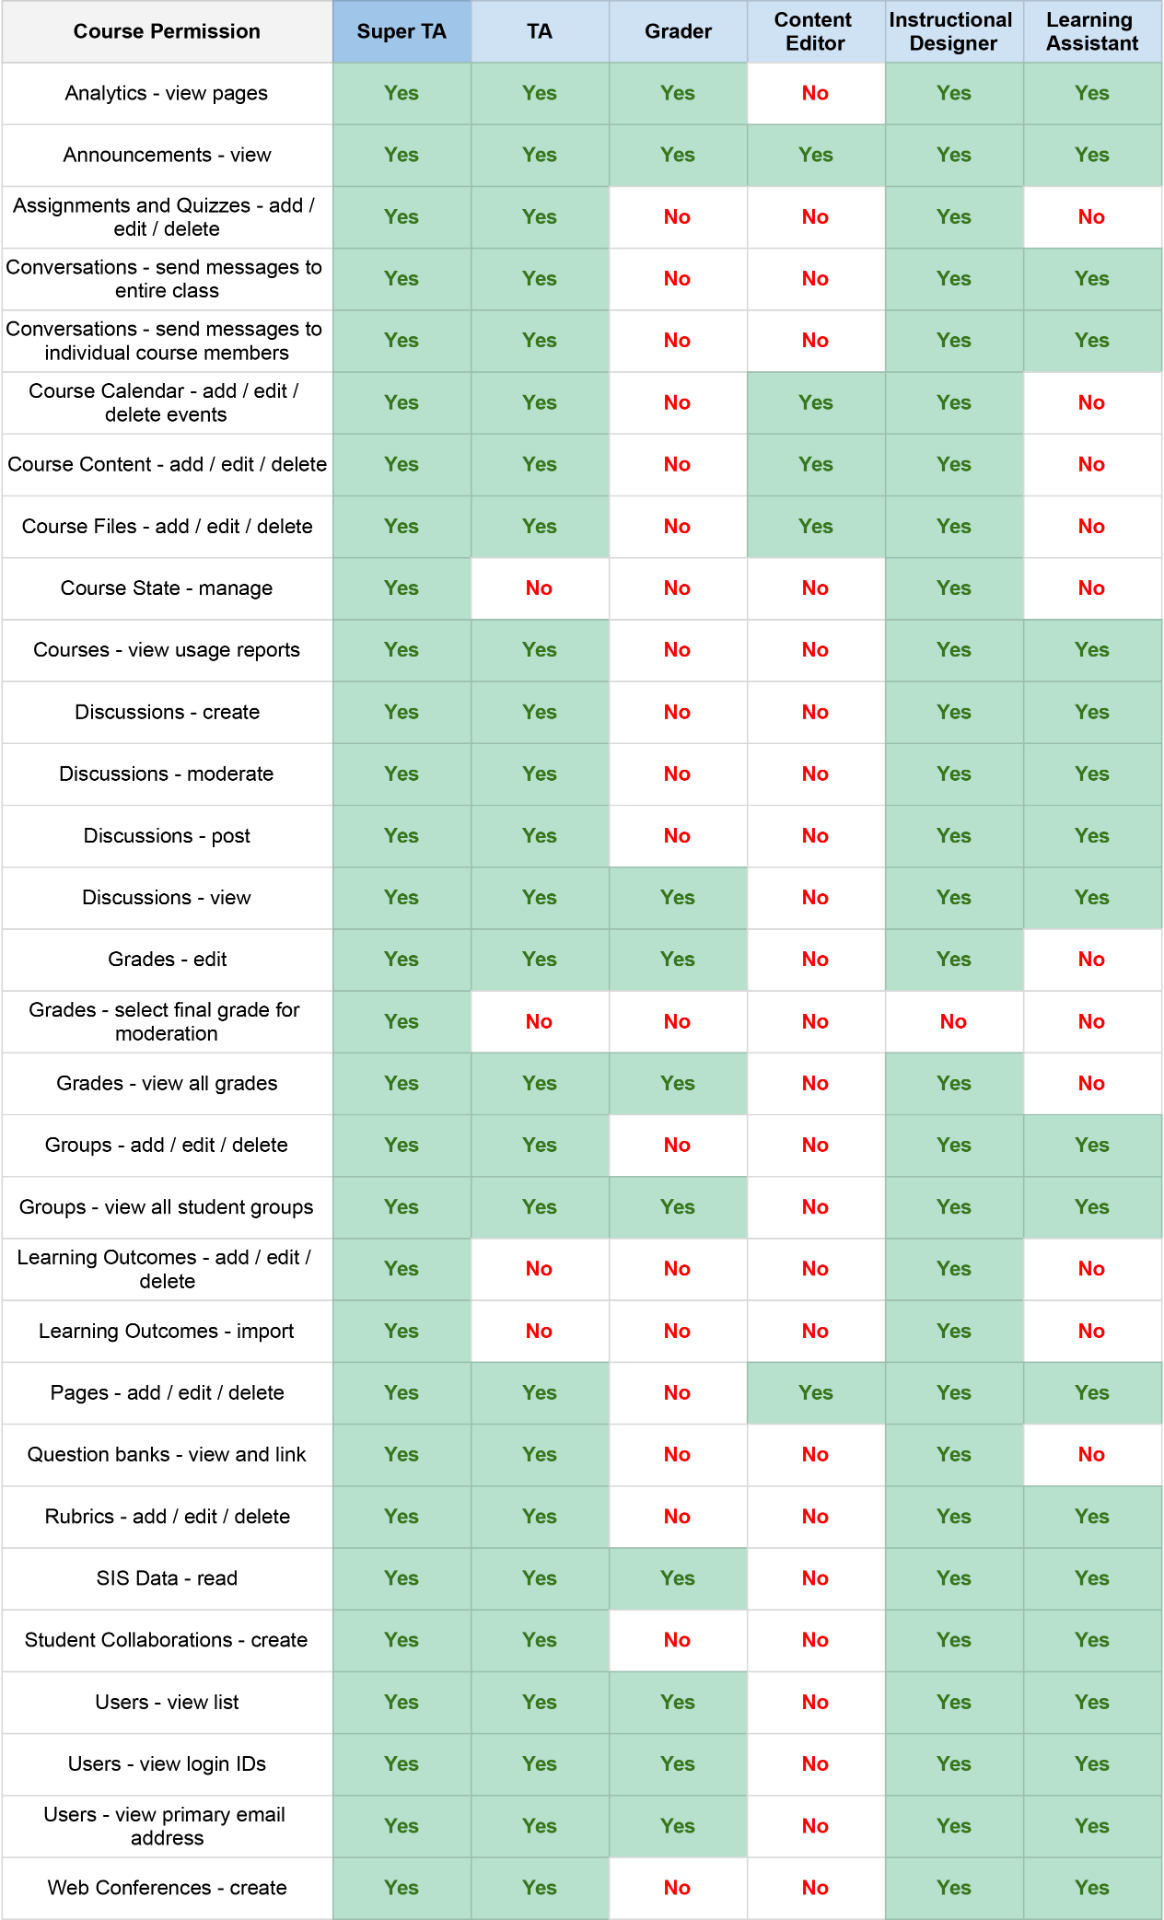
UCI Canvas Assistant Role Permissions
Below is a summary of Canvas permissions for the 6 different assistant roles we offer at UCI.
Teaching Assistant Permissions
Adding Assistants to Canvas
Further details on each permission mentioned in the first column can be found in this Canvas document from Instructure.
Please Note: The Canvas document above covering permission definitions represents a “default” state for Canvas. UCI Canvas has been customized in several ways that may not be reflected in that document.
This article covers the two ways you can add assistants to your UCI Canvas course space.
- Method 1: Add Assistants allows you to manually add up to 10 assistants per course code of your choosing
- Method 2: Bulk Upload allows you to bulk upload assistants using a CSV file
Method 1: Add Assistants (up to 10 to a single course code at once)
- To get started, go to EEE+ Assistants. Login if you haven’t already done so.
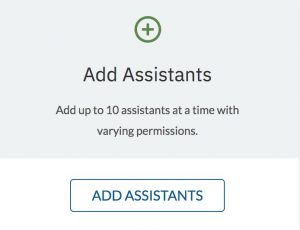
- Click on the Add Assistants button in the middle of the page.
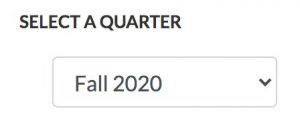
- Choose the quarter using the Select A Quarter dropdown menu.
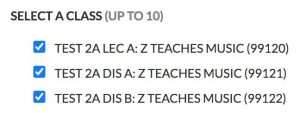
- Select the course code(s) you want to add your assistant.
- Click Next at the bottom of the page.
- On the following page, enter the UCInetID(s) or Email Address for the TA(s) you want to add to that course.
Note: You can add up to 10 assistants per course code at once. If you checked more than one-course code in the previous step, you will need to fill in the UCInetID for each course code chosen. Only email addresses with the format “UCInetID@uci.edu” can be entered (ex: panteate@uci.edu).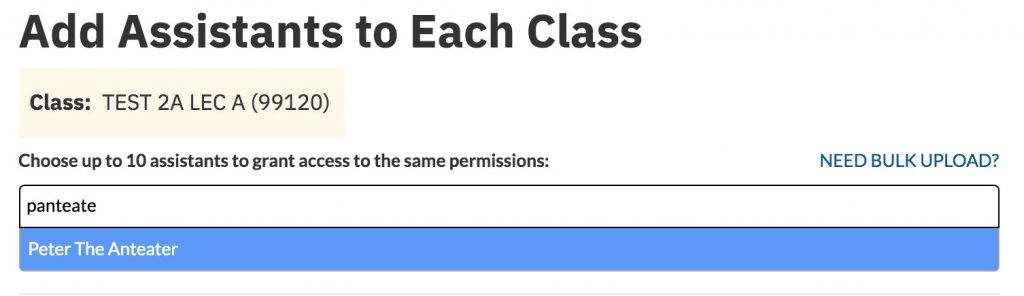
- Click Next at the bottom of the page.
- Check the box next to Canvas Teaching Assistant and choose the appropriate assistant role for each specified section.
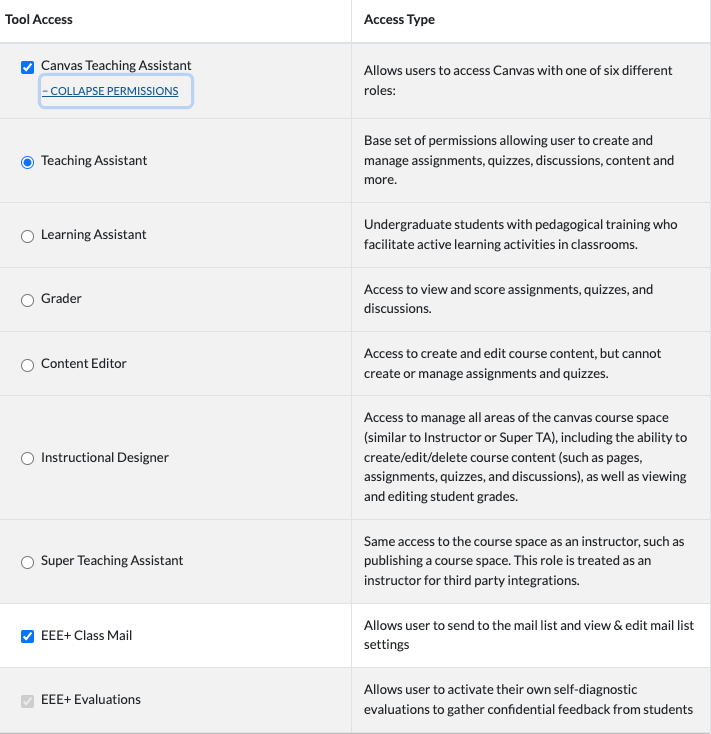
Note: When choosing the Teaching Assistant, Super Teaching Assistant, or Grader roles, the assistant will automatically be granted WebRoster access for the specified section as long as the assistant has an employee ID. Additionally, the assistant will be given EEE+ Evaluations access for activating their self-diagnostic evaluations for the selected course code. - Click Next at the bottom of the page.
- Confirm the permissions that you have assigned for each course code.
- Once you’re satisfied, click Grant Access to complete the process. Your assistant should be given access to the Canvas course spaces for the specified course codes immediately.
Method 2: Bulk Upload
- To get started, go to EEE+ Assistants. Login if you haven’t already done so.
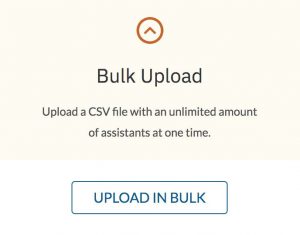
- Click on the Upload In Bulk button on the middle right side of the page.
- Choose the quarter using the Select A Quarter dropdown menu.
- Check the box next to Canvas Teaching Assistant and choose the appropriate assistant role.
Note: When choosing the Teaching Assistant, Super Teaching Assistant, or Grader roles, the assistant will automatically be granted WebRoster access for the specified section as long as the assistant has an employee ID. Additionally, the assistant will be given EEE+ Evaluations access for activating their self-diagnostic evaluations for the selected course code. - Select a CSV file to upload.
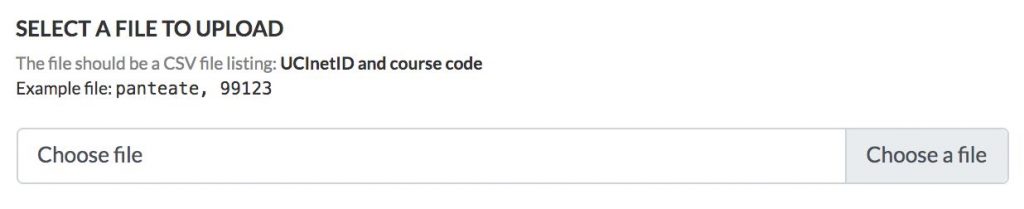
Note: The CSV format is UCInetID in the first column and course code in the second column. Only email addresses with the format “UCInetID@uci.edu” can be entered (ex: panteate@uci.edu). - Click Next at the bottom of the page.
- Confirm the permissions that you have assigned for each course code.
- Once you’re satisfied, click Finish to complete the process. Your assistant should be given access to the Canvas course spaces for the specified course codes immediately.
Editing Assistant Access
Removing Assistant Access
- Go to EEE+ Assistants. Login if you haven’t already done so.
- Click the View Assistants button on the left side of the page.
- Select the quarter and class that you’d like to remove your assistant from.
- Click the Remove button next to the assistant’s name.
- Select Yes, Remove at the pop-up.
- You will receive an Assistant Successfully Removed message at the top of the screen.
Editing or Removing Canvas Access
- Go to EEE+ Assistants. Login if you haven’t already done so.
- Click the View Assistants button on the left side of the page.
- Select the quarter and class to edit or remove your assistant’s Canvas access.
- Click the Edit button under the Canvas tab.
- A menu will pop up where you can edit or remove Canvas access.
- Click Save Changes once you’re done.